Integrating Paystack with Stames through webhooks allows you to automate and streamline your payment processes, ensuring that your sales and customer support teams have real-time access to transaction data. This guide will walk you through the steps to add a Stames webhook URL to your Paystack account.
But first, What is Paystack?
Paystack is a financial technology company that provides a suite of payment processing solutions to businesses, enabling them to accept online and offline payments from customers. Founded in Nigeria, Paystack has grown to become a prominent player in the African fintech space, serving thousands of businesses across the continent.
The platform allows businesses to accept payments via multiple channels, including credit and debit cards, mobile money, bank transfers, and USSD. It simplifies the process of integrating payment solutions into websites and mobile applications, making it easier for businesses to manage transactions.
What is a Webhook?
A webhook is a way for one application to send real-time data to another application whenever a specific event occurs. In the case of Paystack, webhooks are used to notify your application (Stames) about various events related to payments, such as successful transactions and more.
Steps to Add Stames Webhook URL to Paystack
Step 1: Log in to Your Paystack Dashboard
- Visit the Paystack Dashboard.
- Enter your login credentials to access your account.
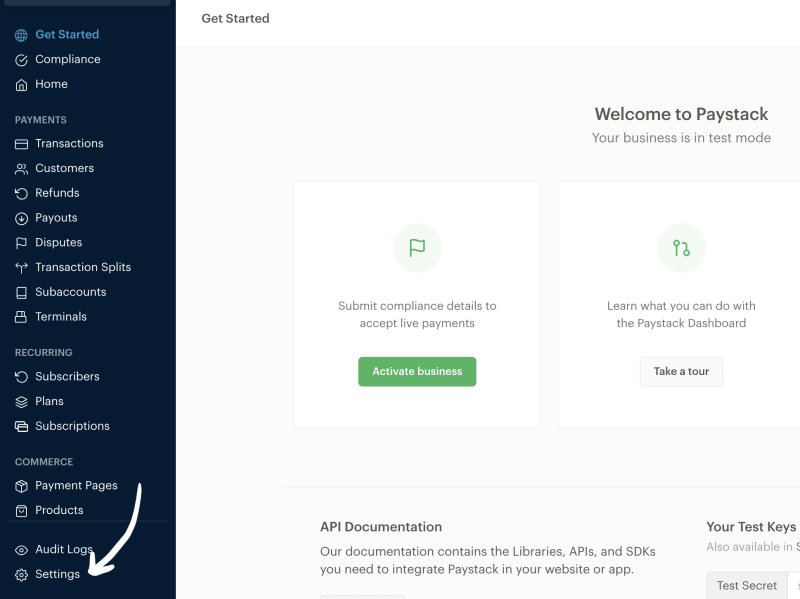
Step 2: Navigate to the Webhooks Settings
- Once logged in, locate the side menu on the left-hand side of the dashboard.
- Click on “Settings” to expand the settings menu.
- Under the settings menu, select “API Keys & Webhooks”. This will take you to the Webhooks settings page.
Step 3: Add a New Webhook URL
- On the Webhooks settings page, you will see a section for “API Configuration – Live Mode” and “API Configuration – Test Mode”.
- Both sections have a Webhook URL field.
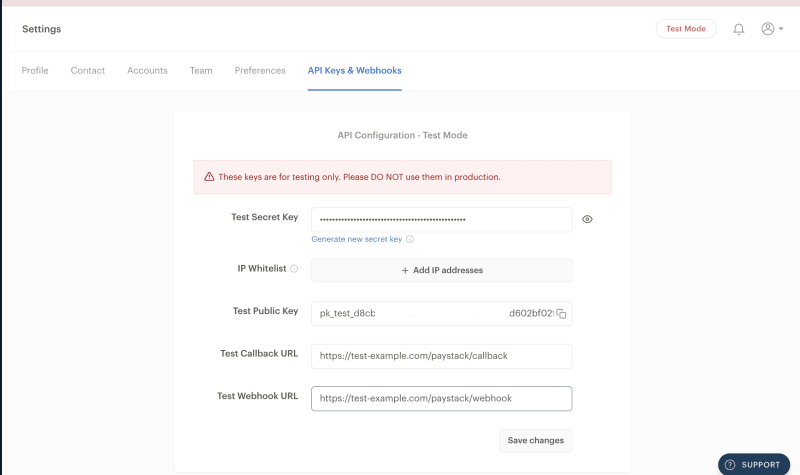
Step 4: Enter the Stames Webhook URL
- In the field that appears next to the label/text “Live Webhook URL” or “Test Webhook URL“, enter the Stames webhook URL. This URL will be provided by logging into your Stames subscription account, then go to “Account Settings“. On the account settings page, click on “Integration settings” and then finally on “Channels and Apps” tab.
- Click next on Paystack to activate a popup dialog box. On the popup page, locate the section with label “Webhook Endpoint” and click on button labelled “Copy URL“.
- Example of Stames Webhook URL:
https://www.stamesoft.com/webhook/v1/paystack/?hash=xxxxxxxxx

Step 5: Save the Webhook URL on Paystack Settings Page
- Enter the copied URL from Stames to the webhook url field on your paystack API and Webhook settings page and click on the “Save” button.
- Paystack will now use this webhook URL to send notifications for the selected events to your Stames application.
Step 6: Test the Webhook (Optional)
- It’s always a good idea to test your webhook integration to ensure that it is working correctly.
- Paystack provides tools for sending test webhook events to your URL. Use these tools to verify that your Stames application is receiving and processing the webhook events correctly.
Adding a Stames webhook URL to your Paystack account is a straightforward process that enables real-time communication between the two platforms. By following the steps outlined above, you can ensure that your sales and customer support teams are always informed about the latest transactions, enhancing their ability to provide excellent service and make informed decisions.
By leveraging webhooks, you can automate many aspects of your payment processing and ensure that your business operations run smoothly. If you encounter any issues during the setup process, contact Stames support team for assistance.